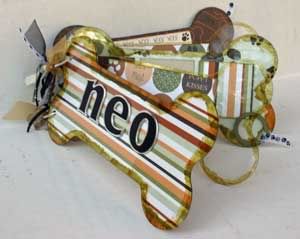
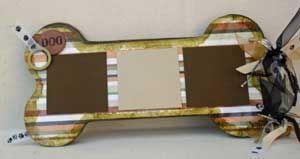
Acrylic albums are clearly a lot of fun! The clear pages give you lots of options because you can completely cover them with paper or you can use them clear so that you can see-thru to the next page. In this album, I did a little of both! I'll walk you through the steps I took to create this acrylic dogbone album.
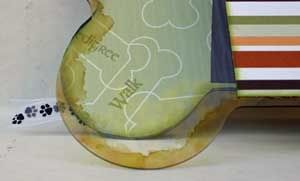
First up...ink the edges. Alcohol ink works great on acrylic and you can mix the colors to get just the right effect. I inked the edges of all five pages of the album even though I was covering some of the pages with cardstock. You can use the inked edges to "hide" gluedots and when the paper doesn't line up perfectly....not that that ever happens to me! ;).
Here is a close-up of the inked edge:
Now, there is a little planning involved in what you want to do next - all covered, all clear or mix-n-match. I decided to do every other page covered, so the cover, 3rd and last pages were covered with cardstock. Double-sided cardstock works great on this type of project because you can see both sides. Lay the shaped album on the cardstock and trace around it, then use scissors to cut a little to the inside of the line. Once you have the first cut, line up the cardstock with the album page and make some adjustment cuts as needed! Believe me you never get it right the first time and there are always some minor cuts that need to be done. Next, adhere the cardstock with small glue dots along the edge of the shape, which will be hidden by the inked edge.
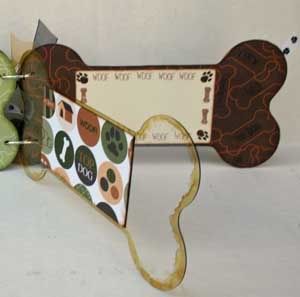
When you do clear pages you need to plan ahead a little because you can see through to the pages behind them. For one of the pages that I left clear, I cut out two photo mats the same size and glued them on back to back. Then on the page behind the clear page I used the same size photo mat so when the clear page is on top, you can't see the photomat of the page behind it. Clear as mud right?! Hopefully this example below will make it a little clearer.
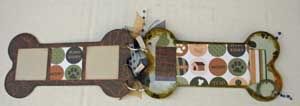
The other option for clear pages are to have something from the page behind "peek" out when the clear page is on top. See the example below where I used a rectangle sized photomat on the clear page and three square photomats on the cardstock page so two parts of the squares show through.
The last step is to add some embellishments and use various ribbons and fibers to help hide the metal ring that keeps the book together. Tada....You're done!
Also check out the Top 10 Ways to Alter Acrylic.
Also check out the Top 10 Ways to Alter Acrylic.



No comments:
Post a Comment